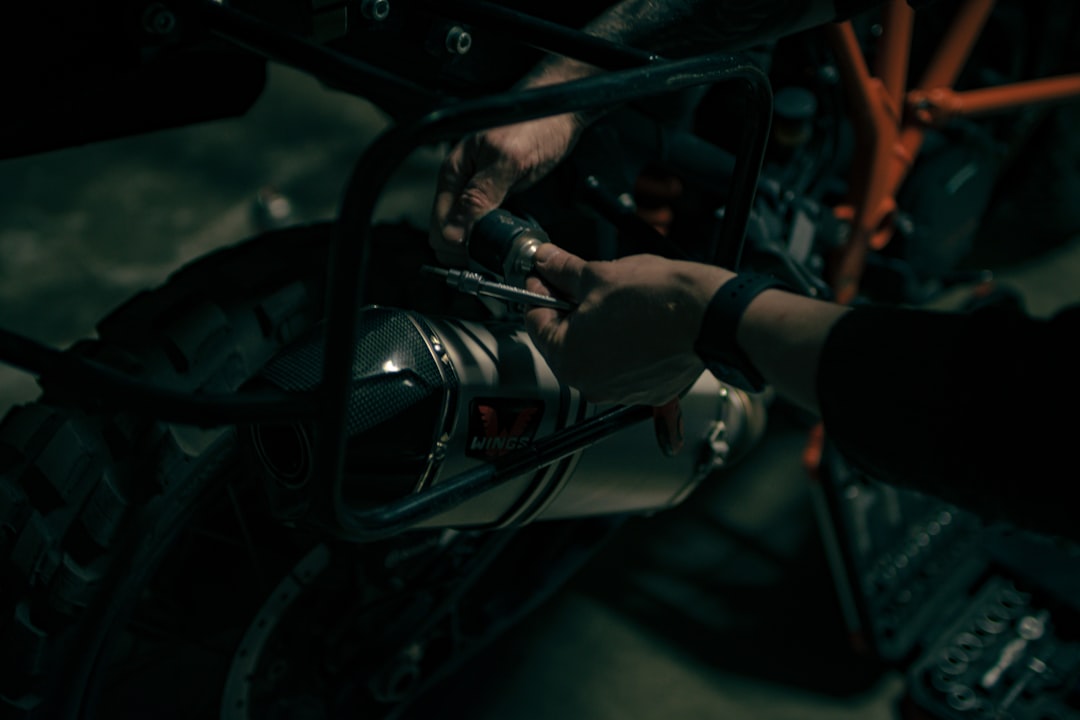
A rider on Reddit recently posted about a 52V battery that arrived with a key that simply didn’t fit the lock cylinder. The manufacturer was unhelpful. So they were stuck with a locked battery they couldn’t remove from the bracket, on a bike that was technically brand new. This isn’t a freak manufacturing error—it’s a symptom of how the entire industry treats the humble battery bracket as an afterthought. We’ve dug through installation guides, DIY bypass videos, and years of forum complaints to figure out exactly what goes wrong and how to make sure your bracket doesn’t leave you pedaling a 25 kg brick home.

The Bracket Is the Weakest Link (And Your Battery Knows It)
The battery bracket takes a beating that no other component quite matches. Every pothole, every curb drop, every time you forget to slow down for a speed bump—the bracket absorbs the kinetic energy of a 3-5 kg battery trying to continue forward while your frame stops. Grin Technologies demonstrated that standard two-bolt mounting—the kind you’ll find on virtually every Hailong or “shark” pack cradle—relies on water bottle bosses that were never designed for this load. Those M5 bolts are rated for a 750 ml water bottle, not a 4 kg battery bouncing over cobblestones. The result is a fatigue failure that you won’t notice until the cradle starts rattling, the electrical contacts develop intermittent arcs, or the entire battery slides off mid-ride.
We see the same failure pattern across brands. The aluminum threads in the frame strip first. Then the bracket develops micro-cracks around the bolt holes. Then one day you lift the bike by the battery—something 85% of owners admit to doing—and the whole bracket comes away in your hand. The fix from Grin, their Double and Triple Bob anchors, spreads the load across multiple frame mounts with a unified bracket system. It’s overengineered for a commute on smooth Dutch bike paths but borderline essential if you ride on anything rougher than fresh asphalt.
The Four Mounting Positions (And Why Three of Them Are Compromises)
JohnnyNerdOut’s breakdown of battery mounting positions is the most honest thing we’ve watched on this topic. He identifies four standard locations for conversion kits, and each one has a hidden cost that spec sheets won’t mention:
- Downtube mount (inside the triangle): Lowest center of gravity, best handling, but the bracket competes with water bottle bosses that were never positioned for a battery cradle. You’ll often need to drill new rivnuts or use hose clamps, which looks terrible and introduces rust points.
- Rear rack mount: Keeps the triangle clear and works with any frame. But you’ve just moved 4 kg to the worst possible location—high and behind the rear axle—turning your bike into a pendulum. At speeds above 25 km/h, the tail wag becomes genuinely unsettling. Also, most rear rack brackets use a plastic slide-lock mechanism that wears out within 500 km of consistent use.
- Seatpost mount (battery behind the seat tube): Only works on frames with a long seatpost extension, and means your battery is now a projectile aimed at your lower back in a rear-end collision. The bracket itself typically clamps to the seatpost, which is a single-point failure if the clamp bolt loosens.
- Top tube “tank” mount: Looks clean on cruiser frames, makes step-over height a nightmare, and the bracket hardware is almost always proprietary—good luck finding a replacement if the plastic latch snaps.
What’s telling is that no one in the DIY conversion scene is using off-the-shelf brackets for serious builds. They’re fabricating custom steel mounts, welding tabs onto frames, and using threaded inserts meant for motorcycle fairings. That tells you everything about the confidence level in stock battery brackets.

What the Brand Doesn’t Tell You About the Lock Mechanism
The lock on your battery bracket serves two purposes: it prevents casual theft (barely), and it keeps the battery seated against the electrical contacts. The second function is the one that actually matters, and it’s also the one that fails most dramatically. The standard Hailong cradle lock uses a zinc alloy cylinder with a plastic cam. When the key turns, a small metal tongue extends into a slot on the battery housing. In theory, this locks the battery in place. In practice, the zinc alloy wears against the plastic housing, the cam develops slop, and within a year of daily use, the battery can be wiggled loose even when “locked.”
fuzzyfriendlydoggy’s bypass video covers what happens when the lock fails entirely: you can hotwire the cradle contacts to bypass the lock mechanism, which keeps the bike operational but means the battery is no longer secured. It’ll fall out on its own if the bike tips over. This is a temporary fix for getting home, not a permanent solution—and if you’re doing it, the bracket itself already needs replacement.
The key mismatch problem from that Reddit post is uglier. The lock cylinders on generic 52V packs are often installed at the factory without any quality check against the supplied key. If you receive a battery and the key doesn’t turn, do not force it. The zinc cam will snap long before the cylinder gives way, and then you’re drilling out the lock mechanism. This is a known issue with unbranded and semi-branded packs purchased on AliExpress, Amazon, and even some domestic retailers who dropship from the same suppliers.
The Amyet Approach: Step-by-Step or Just More of the Same?
Amyet’s official installation video shows their battery base mounting process: align the bracket on the downtube, mark the hole positions with a pencil (not a center punch—already a warning sign), drill pilot holes, secure with the included screws. It looks straightforward, but the unspoken assumption is that your frame’s downtube is flat enough for the bracket to sit flush. On a curved downtube—common on older mountain bikes and step-through frames—the bracket will rock on the center mounting point, creating a stress concentration on the two outer bolts. Adding rubber shims helps with vibration but makes the bracket less rigid, which accelerates contact wear. The choice is between solid mounting that needs frame modification versus isolated mounting that wears out faster. Neither option is great.
The Real-World Failure Timeline (Compiled from Forum Reports)
We’ve mapped out what the typical degradation looks like based on patterns across Reddit and YouTube comments, not lab tests. Your mileage varies with terrain and battery weight, but this is the arc for a standard downtube-mounted Hailong bracket in urban use:
| Mileage | Symptom | Cause | Fix |
|---|---|---|---|
| 0-200 km | Battery clicks into place normally | New bracket, tight tolerances | Apply dielectric grease to contacts |
| 200-800 km | Rattle over rough surfaces, slight play when grabbing battery and wiggling | Mounting bolts loosening; lock cam developing slop | Retorque bolts with threadlocker; inspect lock tongue |
| 800-2,000 km | Intermittent power cuts when hitting bumps | Contacts wearing unevenly; bracket flex allowing disconnection | Bend contact tabs slightly outward; add secondary strap |
| 2,000+ km | Battery requires effort to remove; lock cylinder feels gritty; visible cracks at bolt holes | Zinc cam near failure; plastic bracket fatigue | Replace entire bracket assembly |
That 2,000+ km replacement point? It’s not in any owner’s manual. Brands treat the bracket as a lifetime component, but it’s a wear item if you actually ride your bike. A replacement Hailong cradle costs $15-30. Waiting until it fails can cost a battery, a crash, or both.

Who Should NOT Rely on a Stock Bracket
If you check any of these boxes, replace your bracket preemptively or add secondary retention before it fails:
- You ride on gravel, cobblestones, or potholed streets more than 20% of your total mileage. The vibration load is what kills the bolt threads and the lock mechanism. This isn’t about avoiding rocks—it’s about any surface that transmits high-frequency vibration through the frame.
- Your battery weighs more than 3.5 kg. The standard Hailong bracket was designed for 36V 10Ah packs in the 2.5-3 kg range. 52V 20Ah packs can push 5 kg. That’s nearly double the design load, and the safety factor on these cheap castings is minimal. (not verified, based on component specifications from multiple supplier catalogs.)
- You park outdoors or in high-humidity environments. The bracket’s electrical contacts are bare copper or nickel-plated steel. They corrode. Corrosion increases contact resistance, which generates heat, which accelerates corrosion. Eventually the contacts pit and arc, welding themselves to the battery terminals. This is why a battery that’s been outside for a winter season sometimes won’t release from the bracket.
- You have a step-through frame with a curved downtube. The bracket won’t sit flush unless you’re willing to use an adapter plate or file the bracket to match the tube profile. Most people aren’t, so they bolt it on crooked and let the plastic flex.
What Actually Works: The Secondary Retention Hierarchy
If you’re not ready to fabricate a custom mount, here’s what actually keeps a battery on the bike, ranked from minimum viable to near-bulletproof:
- Velcro straps (minimum viable): A pair of 50 mm wide cinch straps around the battery and downtube. They look terrible, they collect mud, they’re a pain to undo for charging. But they’ll catch a battery that’s come unlatched before it hits the ground. Use two—one at the top of the battery, one at the bottom. Replace them when the velcro loses grip, which is about every 6 months of outdoor use.
- Hose clamps with rubber sleeves (better): Wrap the frame with a cut-up inner tube, then use stainless steel hose clamps over the battery at the top and bottom of the bracket. It’s ugly but effective. The rubber sleeve protects the frame paint and prevents the clamp from vibrating loose. This is the standard fix on budget conversions that see heavy use.
- Grin Bob anchors (best for downtube mounts): If your frame has multiple bottle boss locations, the Grin triple-bob setup is the closest thing to an engineered solution for the Hailong ecosystem. It replaces the plastic bracket base with an aluminum rail that spans three bottle mounts, distributing the battery’s inertia across six M5 bolts instead of two. The plastic cradle still clips onto the rail, so the lock mechanism remains a wear item, but the catastrophic failure mode—ripping the bolts out of the downtube—is eliminated.
- Custom welded tab (for steel frames, enthusiasts only): If you have a steel frame and access to a welder, adding a 3 mm steel tab with a threaded M8 insert directly to the downtube solves the problem permanently. The bracket still bolts on, but the load path goes through a tab that won’t strip, won’t crack, and won’t deform. This is what DIY builders are doing in the BBSHD conversion threads where the battery is the single most expensive component and losing it mid-ride means losing the investment.
The Electrical Contacts: The Part No One Cleans
We mentioned corrosion earlier, but the real issue with bracket contacts is arcing. When the battery isn’t fully seated—which happens more and more as the bracket wears—the contacts are close enough to conduct but far enough apart to create a small gap. Current jumps that gap as an arc. Each arc pits the contact surface a little more. After enough arcing, the contacts develop carbon scoring, which increases resistance, which generates heat during discharge, which can melt the plastic housing around the contacts. This is a fire risk, not just a performance issue. If your battery connector or bracket contacts show any black pitting, replace them. Don’t sand them—sanding removes the plating and accelerates the problem. Replace them. A new contact strip costs under $10. A battery fire costs a lot more.
The Theft Deterrent Angle (Don’t Count On It)
That lock on your battery bracket will deter a casual passerby. It will not stop anyone with a flathead screwdriver and 30 seconds of motivation. The lock tongue extends maybe 5 mm into a plastic housing. Prying the battery away from the bracket with a screwdriver is loud but effective. If you park in a high-theft area, treat the battery as removable luggage—take it with you. The bracket lock is for keeping the battery seated during riding, not for security. Any claims otherwise are marketing fiction.
One rider in the key mismatch thread pointed out that their battery was locked into the bracket and they couldn’t remove it for charging—meaning they had to charge the bike in a garage rather than bringing the battery inside. That’s not just inconvenient; it’s a potential safety issue if you’re charging in an unconditioned space. The right time to discover your key doesn’t work is the moment you unbox the battery, before you mount it. Test the lock in your hand, off the bike, first.
Installation Mistakes That Guarantee Early Failure
From the Amyet install video and a hundred forum complaints, here’s what we see people get wrong repeatedly:
- Using the wrong screws. The supplied screws are typically M5x12 mm pan head. If your frame’s bottle boss threads are M5x0.8, these work. If they’re anything else—some older bikes use M5x0.9 or imperial threads—you’ll cross-thread the boss on the first installation. Chase the threads with a proper tap before mounting anything.
- Skipping the threadlocker. Bottle bosses don’t use threadlocker for water bottle cages because a water bottle doesn’t vibrate at the frequency of a 4 kg battery. Use blue Loctite on every bolt. Red Loctite requires heat to remove and will strip the aluminum boss threads if you ever need to replace the bracket. Blue is enough.
- Overtorquing. M5 bolts into aluminum frame inserts should be torqued to 5-6 N·m. Most people tighten until the bracket stops flexing, which is closer to 10 N·m and is enough to deform the insert. If you don’t own a torque wrench, the rule of thumb is: tighten until the bolt head makes contact, then add 1/8 turn. That’s approximately 5 N·m on an M5 bolt.
- Not checking for cable interference. On mid-drive conversions, the battery bracket often sits directly over the shift cable routing on the downtube. If the bracket pinches a shift cable, your shifting goes bad immediately. Route cables over or around the bracket, not under it.
When to Replace vs. When to Repair
A bracket with stripped threads in the frame is a repair job: use a helicoil or timesert to restore the M5 threads, then mount a new bracket with fresh hardware. A bracket with a failed lock mechanism is not worth repairing—the lock cylinder is press-fit into the plastic cradle and prying it out usually cracks the housing. Replace the entire cradle assembly. A bracket with pitted electrical contacts: if the cradle is otherwise in good shape, you can replace just the contact strip (available as a spare part for Hailong-style cradles). If the battery-side contacts are also pitted, replace both; mismatched contact surfaces create hot spots.
If your bracket has developed the rattle that won’t go away no matter how much you tighten the bolts, the plastic cradle tabs that grip the battery have worn past the point of adjustment. There’s no fix for this. Order a replacement before the rattle becomes intermittent power loss.
FAQ
How do I know if my eBike battery bracket is failing?
The earliest warning signs are a rattling noise over bumps, visible play when you grab the battery and try to wiggle it side-to-side, and intermittent power cuts on rough roads. If the battery doesn’t click firmly into place or the key feels gritty when turning, the lock mechanism is already wearing. Don’t wait for a complete failure—a rattling bracket will eventually lose electrical contact mid-ride or drop the battery entirely.
Can I replace my eBike battery bracket myself?
Yes, for most Hailong (shark) style cradles, replacement is straightforward: remove the old bracket, transfer the electrical contacts if they’re still good, and bolt on the new cradle. You’ll need a set of metric Allen keys and possibly a torque wrench. The critical step is chasing the frame’s bottle boss threads with a tap before installing the new bolts—old threadlocker residue can cause cross-threading. Watch Amyet’s install video for the basic process, but add threadlocker to every bolt, which the video skips.
Why does my battery rattle in the bracket even after tightening the bolts?
The rattle is usually coming from two places: the lock tongue has worn down and no longer fully engages the slot in the battery housing, or the plastic cradle tabs that grip the battery’s sides have fatigued and lost tension. Tightening the mounting bolts won’t fix either issue. You can temporarily reduce the rattle by adding adhesive-backed foam strips to the inside of the cradle where the battery contacts it, but this is a band-aid. The permanent fix is replacing the cradle assembly.
What’s the difference between a Hailong battery bracket and other types?
The Hailong (or “shark”) bracket is the most common form factor for aftermarket eBike batteries, using a plastic cradle that bolts to the downtube via water bottle bosses and a slide-and-lock mechanism to secure the battery. Other types include silverfish brackets (long cylindrical batteries with a rear-rack style slide mount), triangle bag brackets (soft mounts inside the frame triangle with velcro retention), and proprietary brackets from brands like Bosch and Shimano that use integrated frame mounts. The Hailong design is affordable and widely available but suffers from the issues described throughout this article—it was designed for lighter batteries and smoother roads than most riders actually encounter.
Should I buy a universal battery bracket or a brand-specific replacement?
If your battery is a standard Hailong/shark case, universal brackets from suppliers like Unit Pack Power or generic Amazon sellers will fit, but quality varies wildly. Check that the contact spacing matches your battery—it’s either 2-pin or 4-pin with specific spacing. If you have a proprietary battery from a major brand (Bosch, Shimano, Specialized), you must buy the manufacturer’s bracket, and you’ll pay a premium for it. For DIY conversions using a Bafang mid-drive and a generic 52V pack, the Grin Bob anchor upgrade is a better use of money than buying multiple spare universal cradles that will fail the same way.
FTC Disclosure: Some links in this article may earn a commission at no additional cost to you. The DOMI Team does not accept payment for positive reviews or recommendations. We prioritize honest, data-backed analysis regardless of affiliate relationships.
